RECIPES AND PHOTOS COURTESY KING ARTHUR BAKING
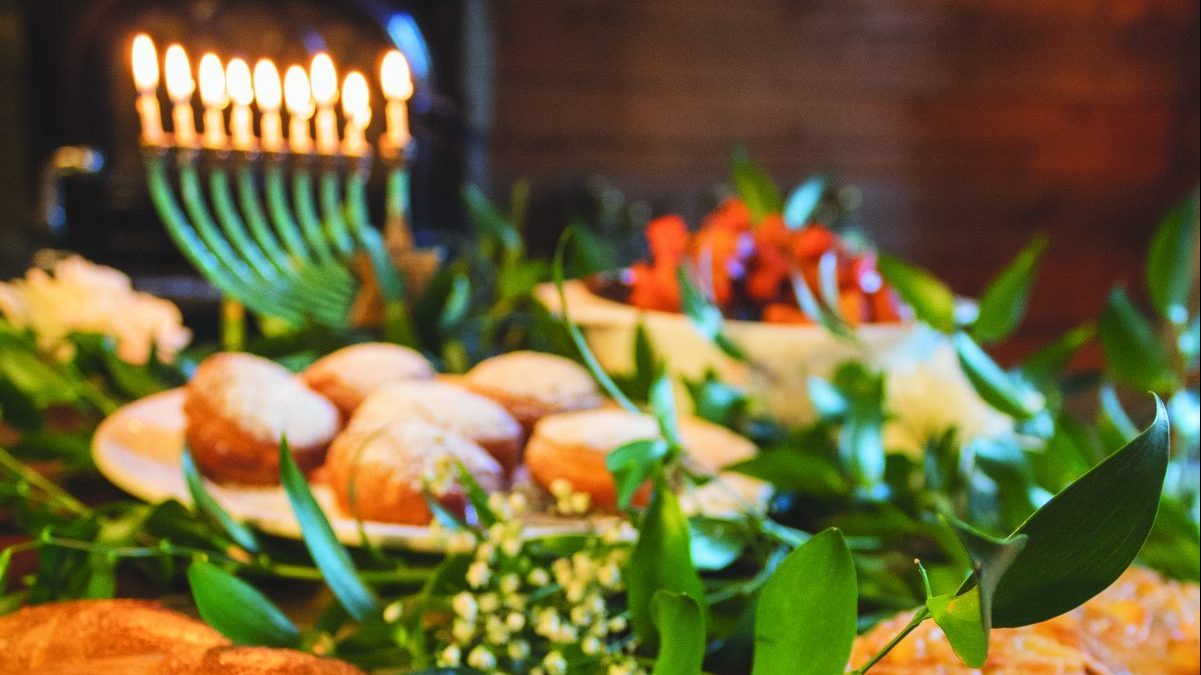
When fall arrives, and the first apple and pumpkin pies come out of the oven, it can be hard to remember that there are so many more things you can make with your fall harvest.
To help you think outside the pie pan, we asked the bakers at King Arthur Baking in Norwich, Vt., for a few recipes to get you started …
Easy Pumpkin Bread

(Recipe courtesy of King Arthur Baking)
Whenever we have a company gathering, this pumpkin bread is one of the first things to disappear. It’s super-moist and packed with flavor, and it can be made into a simple pumpkin loaf or enhanced with chocolate chips and/or nuts. Or raisins. Or butterscotch chips. Or …
Prep time: 10 minutes | Bake time: 1 hour to 1 hour, 20 minutes | Active time: 1 hour, 30 minutes
Yield: 2 loaves
INGREDIENTS:
- 1 cup vegetable oil
- 2 2/3 cups granulated sugar
- 4 large eggs
- One 15-ounce can pumpkin (not pumpkin pie filling)
- 2/3 cup water
- 3 1/3 cups King Arthur Unbleached All-Purpose Flour
- 1/2 teaspoon baking powder
- 1 teaspoon baking soda
- 1 1/2 teaspoons salt
- 1 teaspoon nutmeg
- 1 teaspoon vanilla extract
- 1 cup chopped walnuts or pecans, optional
- 1 1/2 cups chocolate chips, optional
- Coarse white sugar, for sprinkling on top, optional
DIRECTIONS:
Preheat the oven to 350 F. Lightly grease two 8 ½-by-4 ½-inch loaf pans (if you are making the plain version of the bread); two 9-by-5-inch loaf pans (if you are adding chocolate chips and nuts); or one of each, if you are making one plain loaf, and one loaf with chips and nuts.
In a large bowl, beat together the oil, sugar, eggs, pumpkin and water.
Add the flour, baking powder, baking soda, salt, nutmeg and vanilla, stirring to combine.
Mix in the chips and nuts, if you are using them. To make one loaf with chips/nuts, one loaf without, divide the batter in half. Leave half plain, and add 3/4 cup chips and 1/2 cup nuts to the other half.
Spoon the batter into the prepared pans. Sprinkle the tops of the loaves with coarse sparkling sugar, if desired.
Bake the bread for 60 to 80 minutes, or until a cake tester or toothpick inserted in the center of the loaf comes out clean, and that same tester inserted about ½ inch into the top of the loaf doesn’t encounter any totally unbaked batter.
Remove the bread from the oven, and cool it on a rack. When it’s completely cool, wrap it well in plastic wrap and store it overnight before serving.
Tips from King Arthur’s Bakers:
How about making gift loaves? This recipe makes eight 3-by-5-inch loaves, with the addition of the chips and nuts. Bake the loaves for about 45 to 60 minutes; start testing at 45 minutes, and remove from the oven when a toothpick inserted into the center of one of the loaves comes out free of crumbs.
Variation: substitute diced crystallized ginger, golden raisins or dried cranberries for the chocolate chips and/or nuts.
Can you use your own homemade puréed pumpkin? Sure. Just be aware that it’ll probably be thinner than canned pumpkin, so you would want to add a bit more flour. Results might vary. .
Want to add a simple icing? Just before serving, drizzle with a mixture of 1 cup confectioners’ or glazing sugar, 2 tablespoons melted butter and 1 tablespoon milk.
Salted Caramel Nut Tart with Rye Crust
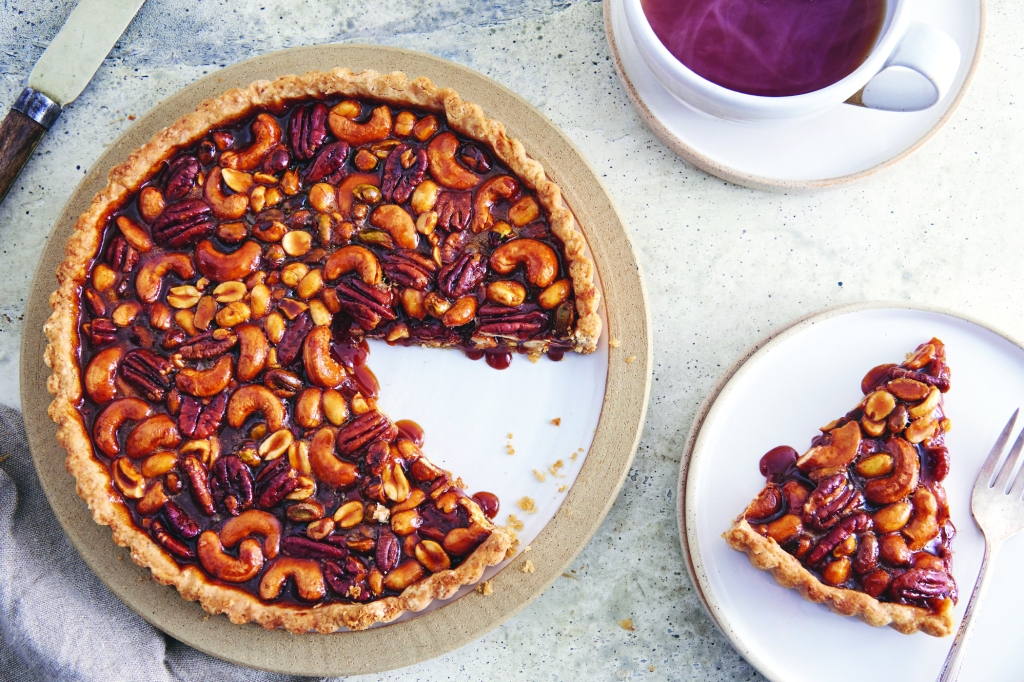
(Recipe courtesy of King Arthur Baking)
Why will you love this tart? Its tender rye crust features delicate texture and mild rye flavor. Its bottom layer of crunchy toasted nuts is aromatic and flavorful; and its salted caramel filling is wonderfully gooey and sticky — that’s why!
Prep time: 45 minutes | Bake time: 45 to 50 minutes | Active time: 2 hours, 30 minutes
Yield: One 9-inch tart
INGREDIENTS:
PASTRY
- 2/3 cup King Arthur Unbleached All-Purpose Flour
- 2/3 cup medium rye flour
- 1 tablespoon sugar
- 3/8 teaspoon salt
- 8 tablespoons unsalted butter, cut into ½-inch cubes
- 3 to 4 tablespoons ice water
NUTS
- 8 ounces mixed unsalted nuts (about 2 cups); walnut and pecan halves, almonds, hazelnuts, cashews and pistachios are good choices, or use your own favorites.
CARAMEL
- 1 1/4 cups sugar
- 1/4 cup water
- 1/2 teaspoon salt
- 1/2 cup + 2 tablespoons heavy cream
- 2 tablespoons unsalted butter
DIRECTIONS:
To make the pastry: Combine the flours, sugar and salt in a medium bowl.
Add the butter and toss with the dry ingredients, pressing the butter cubes between your thumbs and forefingers to create flattened, flour-coated pieces about ¼-inch to ½-inch in size. Work as quickly as possible so as not to warm up the butter too much. You also can use a pastry blender or your stand mixer to work the butter into the dry ingredients.
Add 1 tablespoon of ice water at a time, tossing it thoroughly with the flour-butter mixture; a bowl scraper is a handy tool here. Continue to add water until the dough barely is cohesive, with some dry bits remaining.
Transfer the crumbly dough to a clean work surface or a piece of parchment and press it into a disk. Wrap the dough securely and chill it for at least 1 hour, preferably 2 to 3 hours. While you are waiting, prepare the nuts and caramel.
To prepare the nuts: Preheat the oven to 350 F.
Place the nuts on a baking sheet and transfer them to the oven to toast until they have taken on just a little bit of color, about 10 to 12 minutes.
Remove the nuts from the oven and set them aside to cool.
To make the caramel: In a deep, heavy-bottomed saucepan with a capacity of at least 1 1/2 quarts (the syrup will bubble up during cooking), combine the sugar, water and salt. Stir briefly to combine, then place over medium-high heat.
When the mixture comes to a boil, reduce the heat to medium and cook without stirring. Watch carefully; as the syrup begins to turn golden at the edges, swirl the pan gently without lifting it off the heat to even out the color.
Continue to cook the syrup, swirling the pan regularly and brushing the sides of the pan with water if any sugar crystals form, until it darkens to a light amber color and you start to smell a rich caramel aroma.
Remove the pan from the heat and slowly pour in the cream while you stir with a heatproof spatula. Be careful: The sauce will bubble and steam vigorously.
Once the cream has been incorporated thoroughly, return the pan to the heat. When the caramel starts to bubble again, remove the pan from the heat.
Stir in the butter, a tablespoon at a time, until it completely is melted and the sauce is smooth. Set aside the caramel to cool to room temperature while you blind-bake your crust.
To bake the crust and assemble the tart: On a lightly floured surface, roll the chilled pastry into an 11-inch to 12-inch circle about ⅛ -inch thick. Lay it gently into a 9-inch round tart pan, pressing it into the corners. Fold the overhanging dough over on itself to reinforce the edge of the tart.
Prick the bottom of the crust with a fork and place it in the freezer for 15 to 20 minutes while you preheat the oven to 400 F.
Remove the crust from the freezer and line it with foil or parchment paper, and fill it with pie weights or dried beans or rice. Bake the crust for 20 minutes. Remove it from the oven, and gently remove the liner and weights, then return it to the oven for 7 to 10 minutes, until the bottom looks dry and the edges are just beginning to turn golden.
Scoop the nuts into the hot crust, then pour in the caramel.
Return the assembled tart to the oven and bake for 10 to 15 minutes, until the caramel is bubbling and the outer crust is golden brown; the cooler your caramel has become, the longer you’ll need to bake the tart.
Remove the tart from the oven and transfer it to a rack to cool completely.
Store any leftover tart at room temperature for up to five days.
Apple Skillet Cake

(Recipe courtesy of King Arthur Baking)
This easy, buttery cake is marbled with sweet and spicy apple slices.
Prep time: 20 minutes | Bake time: 50 minutes to 1 hour | Active time: 1 hour, 40 minutes
Yield: 10-inch cake
INGREDIENTS:
APPLES
- 4 or 5 large tart green apples (such as Granny Smith), peeled, cored and sliced (about 1 1/2 pounds); about 18 ounces prepared, about 5 1/2 to 6 cups
- 1/3 cup brown sugar, packed
- 3 tablespoons boiled cider
- 1 teaspoon apple pie spice, or your favorite combination of sweet spices
- 1/4 teaspoon salt
CAKE
- 1 1/3 cups King Arthur Unbleached All-Purpose Flour
- 1/2 cup granulated sugar
- 1 1/2 teaspoons baking powder
- 1/2 teaspoon salt
- 2/3 cup milk, lukewarm
- 1 large egg, at room temperature
- 6 tablespoons butter, melted
- 1 teaspoon vanilla extract
- Coarse sparkling sugar, to sprinkle on top, optional
DIRECTIONS:
Preheat the oven to 350 F. Butter a 9 ½-inch round, 2-inch deep cast-iron skillet or a 9-inch square cake pan.
Combine the peeled, sliced apples with the brown sugar, boiled cider, spices and salt. Set aside.
Combine the flour, sugar, baking powder and salt. Set aside.
Mix the warm milk, egg, melted butter and vanilla. Add to the flour mixture, stirring to combine. Pour into the prepared skillet.
Spoon the apple mixture onto the batter. For the best appearance, make sure the apples are distributed a little more heavily toward the edges of the pan. Sprinkle with coarse sparkling sugar, if desired.
Bake the cake for about 50 to 60 minutes, until it is light brown and a cake tester inserted into the center comes out clean.
Remove from the oven and cool for about 5 minutes. Loosen the edges of the cake from the pan and cool for an additional 20 minutes or so.
If you haven’t sprinkled with coarse sparkling sugar, dust with confectioners’ or glazing sugar, and serve with whipped cream or iced cream right from the pan.
Tips from King Arthur’s Bakers
While we like the free-form apple distribution in this cake as described above, we understand if you want to match the picture. To do so, mix the apples with the sugar and spices as directed, but don’t spoon them onto the batter in the pan. Instead, line up 4 to 6 slices and place them vertically into the batter. Repeat, spacing them at intervals until you have used all the apples. Bake as directed.
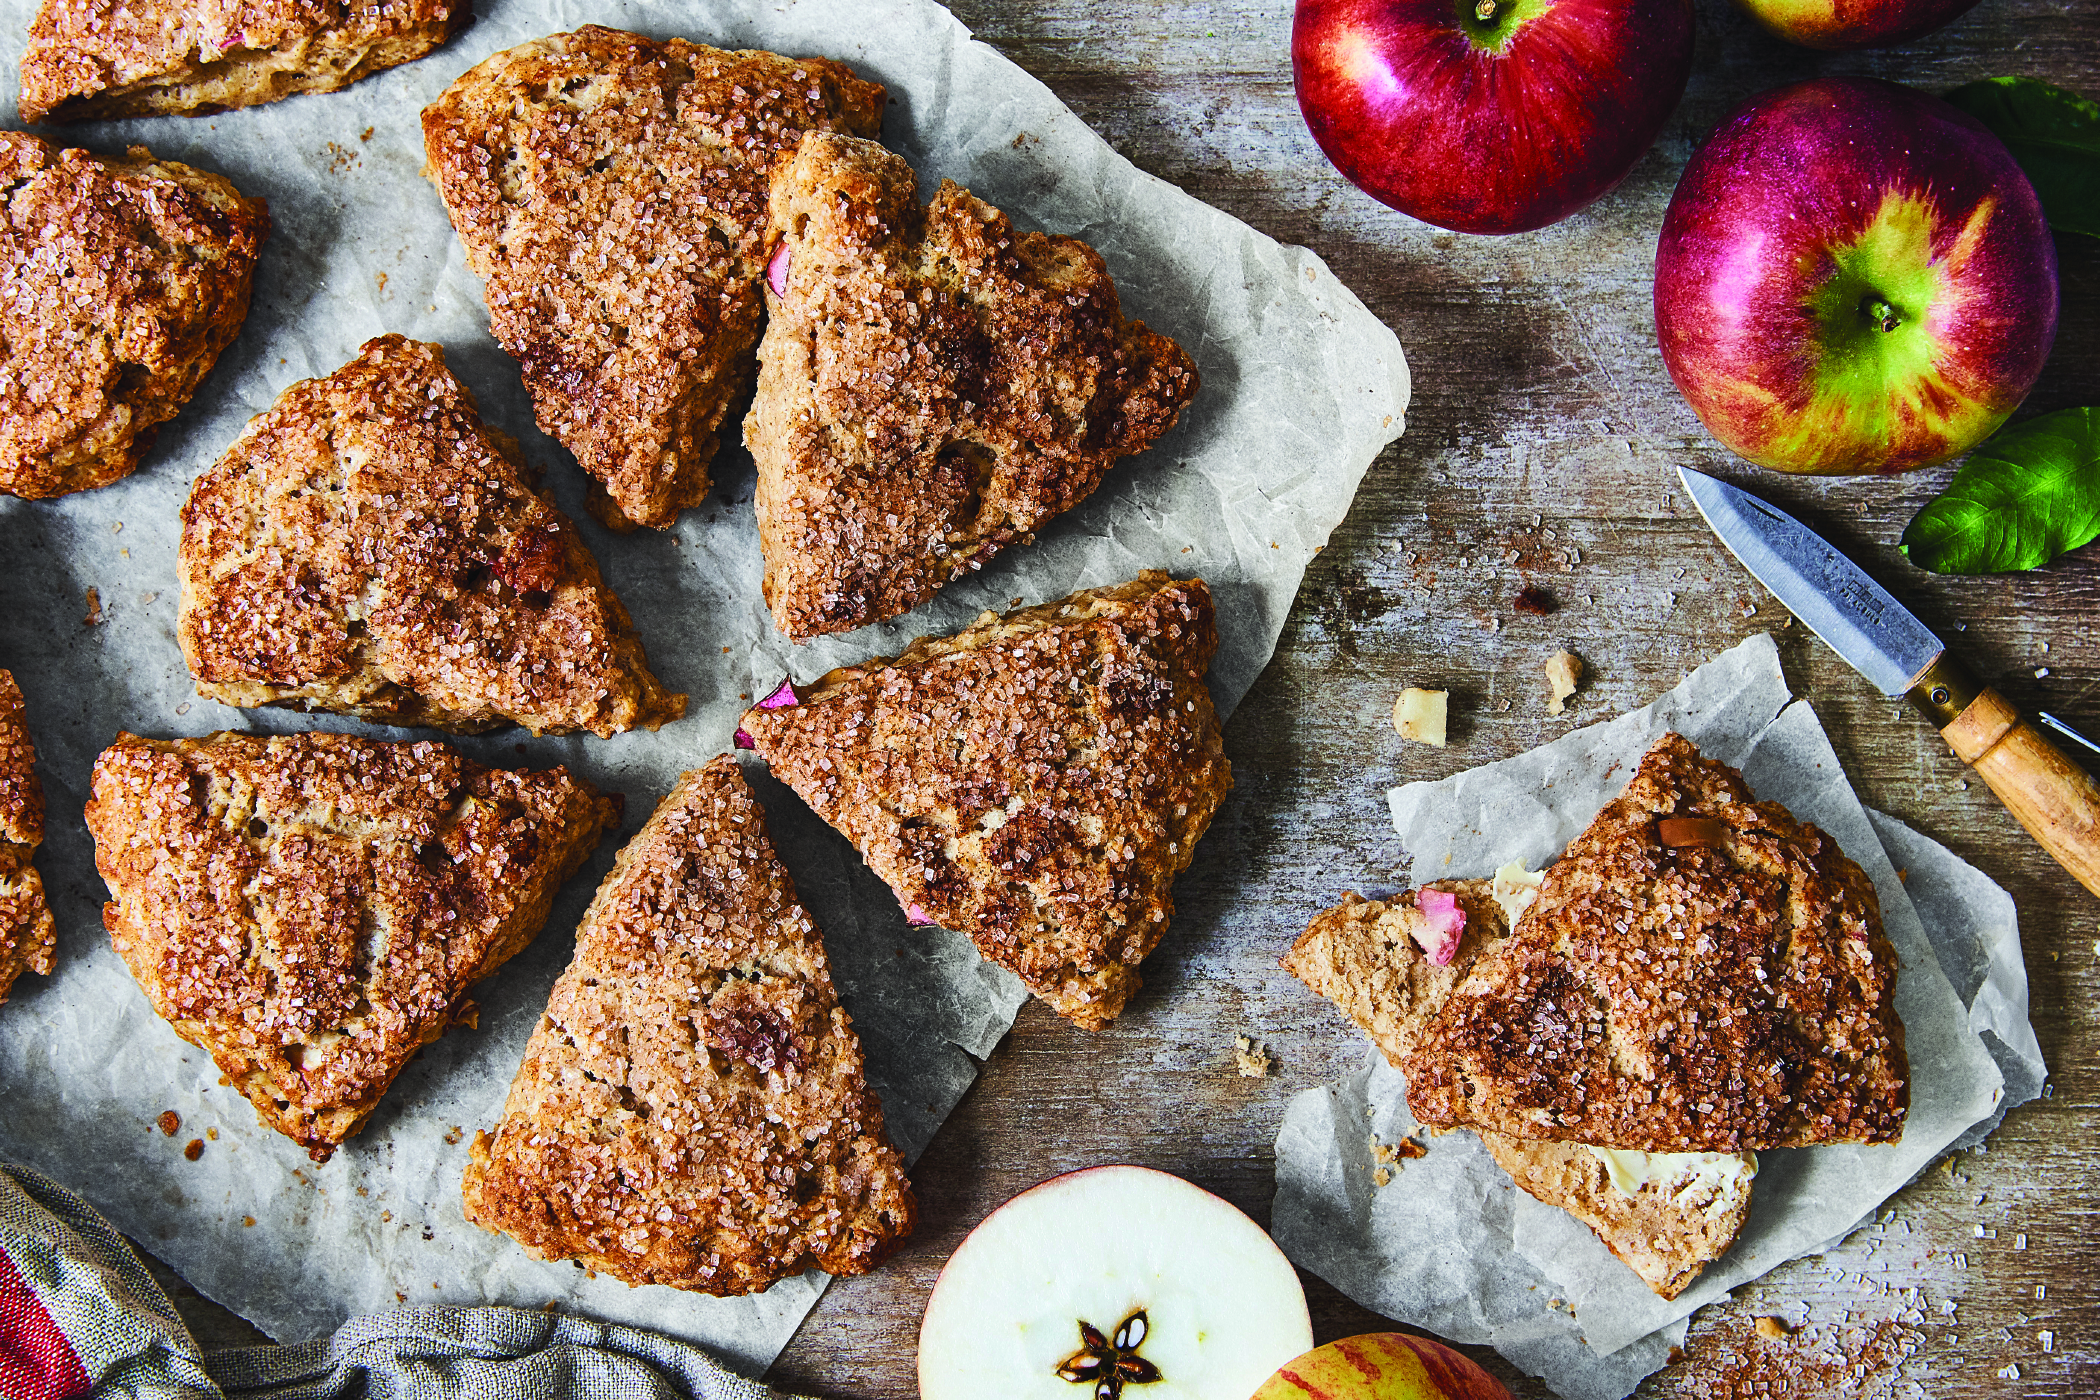
Fresh Apple Cinnamon Scones

(Recipe courtesy of King Arthur Baking)
“What are you making? It smells like a fall day…”
That was the reaction the first time we baked these moist, flavorful scones. Fresh-diced apple and cinnamon chips complement each other beautifully, flavorwise; and a topping of crunchy, cinnamon-enhanced coarse sugar is the perfect foil to the scones’ tender texture.
Prep time: 10 minutes | Bake time: 18 to 22 minutes | Active time: 58 minutes
Yield: 12 large scones
INGREDIENTS:
SCONES
- 2 3/4 cups King Arthur Unbleached All-Purpose Flour
- 1/3 cup granulated sugar
- 3/4 teaspoon salt
- 1 tablespoon baking powder
- 1 teaspoon apple pie spice or cinnamon
- 8 tablespoons butter, cold
- 3/4 cup chopped fresh apple, in half-inch pieces (about half a medium apple); leave the skin on, if you like
- 3/4 cup cinnamon chips or 1/2 cup cinnamon sweet bits
- 2 large eggs
- 1 teaspoon vanilla extract
- 1/2 cup applesauce, unsweetened preferred
TOPPING:
- 3 tablespoons coarse white sparkling sugar
- 1/2 teaspoon cinnamon
DIRECTIONS:
In a large mixing bowl, whisk together the flour, sugar, salt, baking powder and spice.
Work in the butter just until the mixture is unevenly crumbly; it’s OK for some larger chunks of butter to remain unincorporated.
Stir in the chopped apple and cinnamon chips.
In a separate mixing bowl, whisk together the eggs, vanilla and applesauce.
Add the liquid ingredients to the dry ingredients and stir until all is moistened and holds together.
Line a baking sheet with parchment; if you don’t have parchment, just use it without greasing it. Sprinkle a bit of flour atop the parchment or pan.
Scrape the dough onto the floured parchment or pan, and divide it in half. Gently pat and round each half into a 5-inch to 5 ½-inch circle about ¾-inch thick.
To make the topping, stir together the coarse sugar and cinnamon. Brush each circle with milk, and sprinkle with the topping.
Using a knife or bench knife that you have run under cold water, slice each circle into 6 wedges.
Carefully pull the wedges away from the center to separate them just a bit; there should be about a half-inch space between them at their outer edges.
For best texture and highest rise, place the pan of scones in the freezer for 30 minutes, uncovered. While the scones are chilling, preheat the oven to 425 F.
Bake the scones for 18 to 22 minutes, or until they are golden brown. When you pull one away from the others, it should look baked all the way through; the edge shouldn’t look wet or unbaked.
Remove the scones from the oven, and cool briefly on the pan. Serve warm. When they are completely cool, wrap in plastic and store at room temperature for up to several days.
Tips from King Arthur’s Bakers:
Why freeze the scones before baking? Because 30 minutes in the freezer relaxes the gluten in the flour, which makes the scones more tender and allows them to rise higher. It also chills the fat, which will make the scones a bit flakier.
To make free-form rather than wedge-shaped scones, increase the applesauce to 3/4 cup.
Using a large ice cream scoop or spoon, dollop the scone dough in 1/3-cupfuls onto a lightly greased or parchment-lined baking sheet. Bake the scones in a preheated 375 F oven for about 30 minutes.
Scones are best served warm. They are delicious as is, but add butter and/or jam (or apple butter), if you like. To reheat room-temperature scones, place on a baking sheet, tent lightly with foil and warm in a preheated 350 F oven for about 10 minutes.
Cinnamon chips have become increasingly difficult to find over the years. Caramel chips or butterscotch chips are a good substitute.